Image via bedrosians.com
Are you looking for the best grout for your tile installation? When it comes to bringing out the beauty of bathroom and kitchen tiling, Mapei offers a wide array of premium colors and styles to fill in gaps while keeping moisture out. You can find Mapei products in most home improvement stores. Trusted by many design professionals and contractors, Mapei grout will give your tile job a finished and professional look. Check out the following grouting tips for getting the best results.
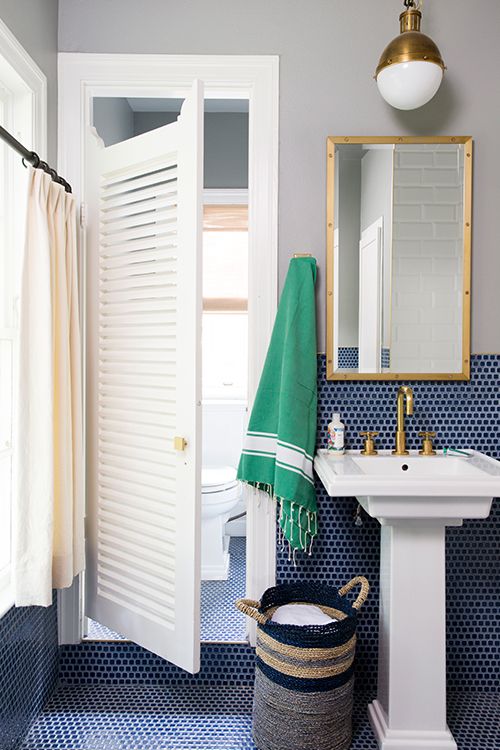
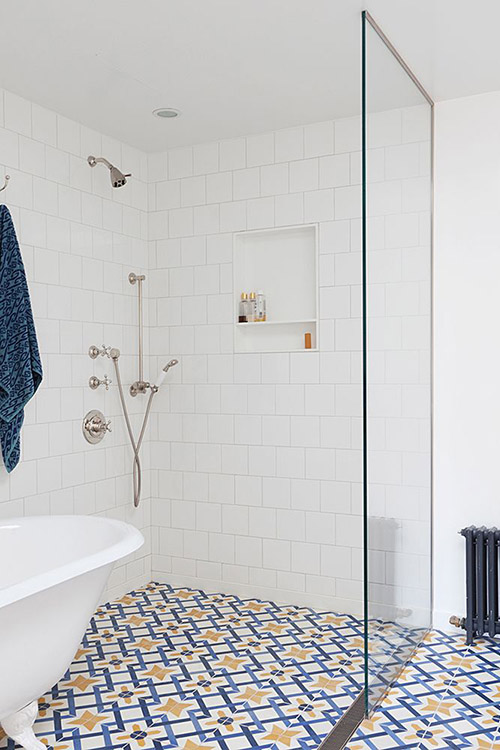
Image via elledecor.com
1. Calculating Tiling Area
Before you begin, you will need basic information such as the size of the area you are tiling and the size of the grout joint. Thanks to Mapei, you can conveniently calculate your grout coverage. You can simply use their online Grout Calculator, technical datasheets or charts which can be found on all their products. Grout coverage varies from project to project; for instance, some tiles may be larger or smaller, so Mapei recommends 5% to 10% overage to ensure that your entire project is covered. Once you have this information, choosing the grout color will come easy.
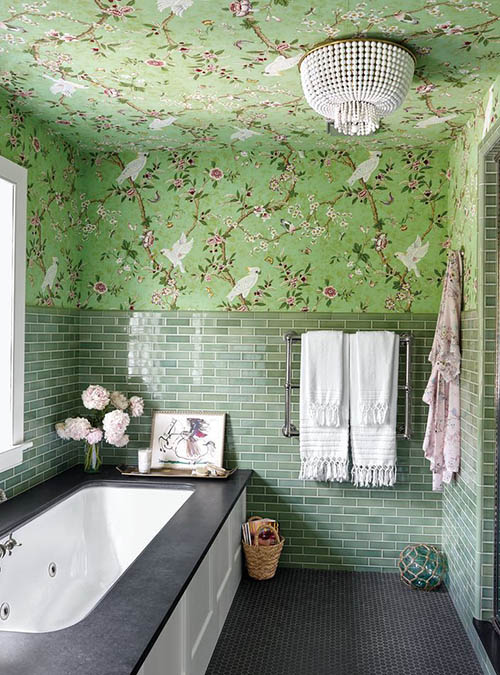
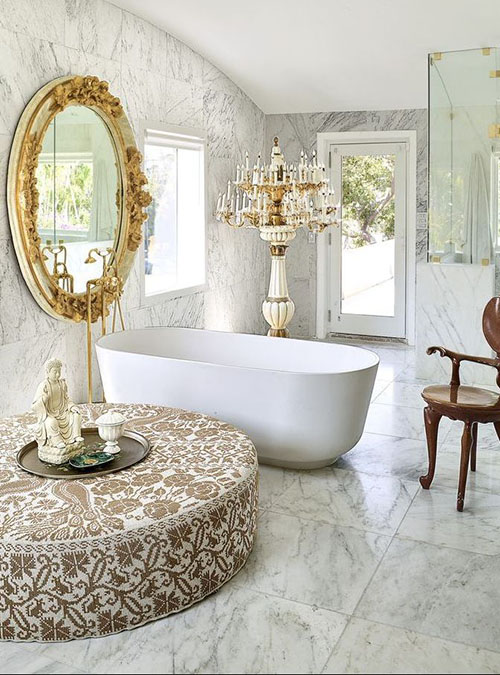
Image via elledecor.com
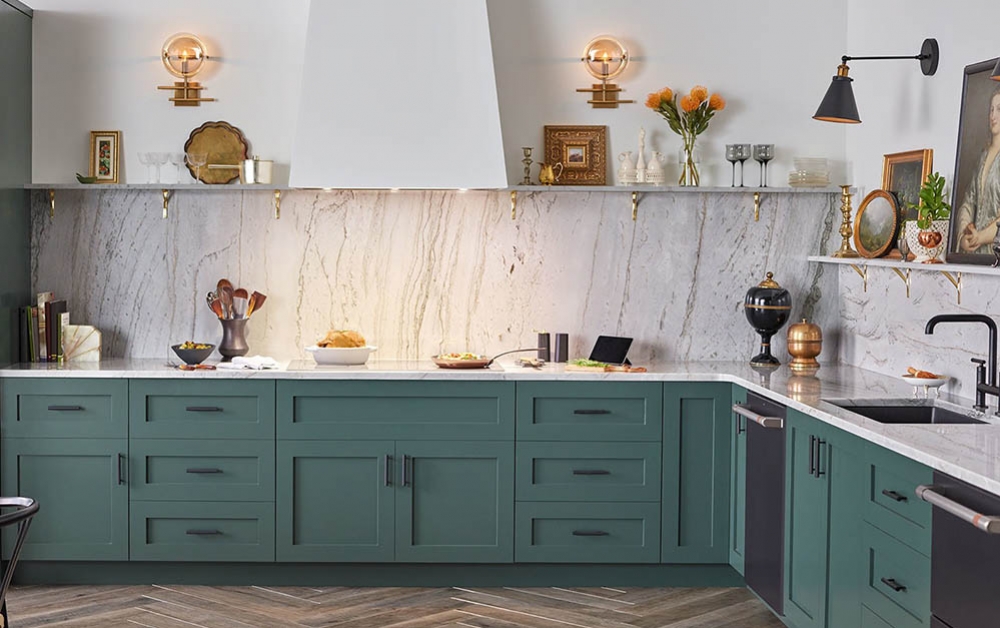
2. Choosing The Perfect Color
Mapei has over 40 premium grout colors available in sanded and unsanded finish to match any design trend. Choose from their 5 color collection: Serene, Traditional, Natural, Romance and Glamour. Capturing any mood or replicating any style is easy with Mapei grout. You can either match the grout to your tile color for a consistent look or highlight the individual tile pieces by choosing a bright grout color that's both trendy and unique. In addition, pair your grout with Mapei's perfectly color-matched Caulk. To create a bold and glamorous look for your bathroom tiles, opt for Mapei's Flexcolor 3D. Jazz things up with its colorfast and non-rust grout, perfect for adding a glistening effect to arabesque mosaic tiles or decorative tiles.
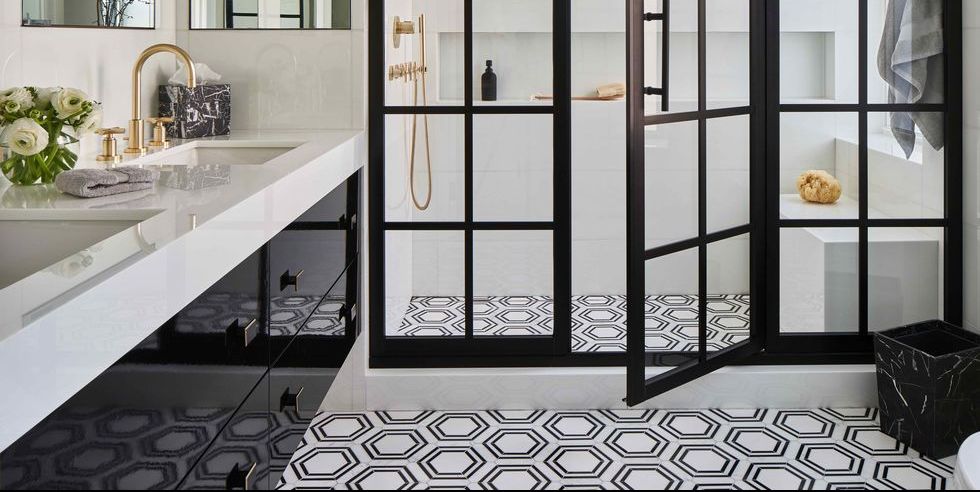
Image via elledecor.com
3. Differences Between Sanded and Non-Sanded Grout
After choosing your grout color, you can now decide between sanded and non-sanded grout. The major difference between the two mixture is the use or exclusion of sand. Unsanded grout has a smooth mixture whereas sanded grout has added sand to prevent shrinking at the joints. Most homeowners and contractors opt for sanded grout for flooring. However, some cases require unsanded grout like for highly polished or marble flooring. When installing mosaic tiles as your kitchen backsplash or shower walls, unsanded grout is the best choice. This will help with easy cleaning and stop scratchable surfaces from getting damaged.
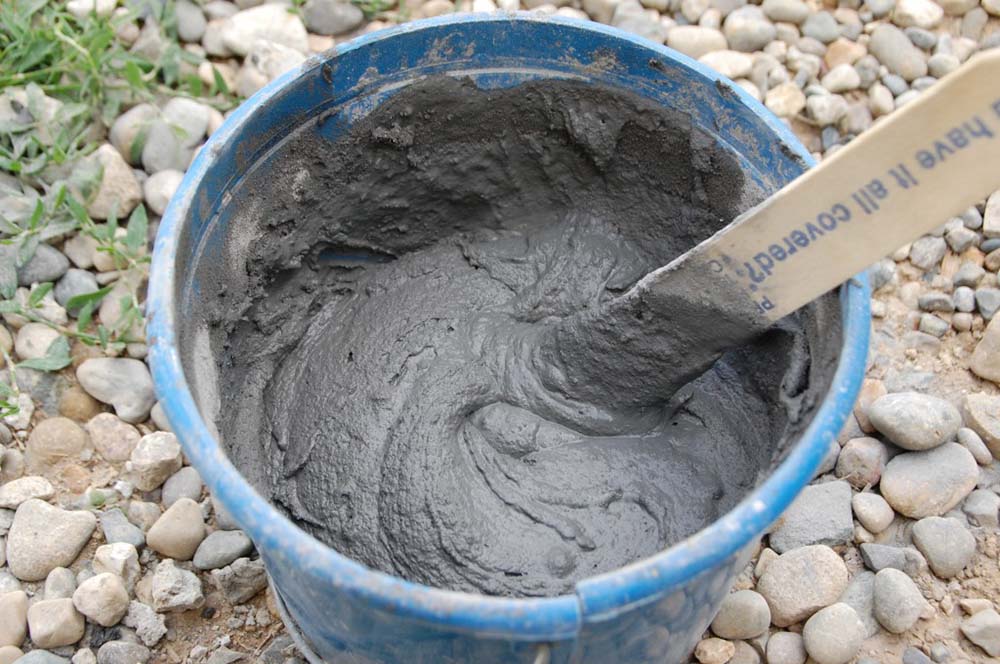
Photo by Kit Stansley
4. Preparing your Grout
For this process, you must use the right tools and materials if you want professional quality work. For a strong and colorfast grout, Mapei recommends that you get the right consistency by using a small amount of water every time you mix. Follow the instructions on the bag and mix thoroughly and remember to only make as much as you can before the grout begins to set. For convenience, try Mapei Ready-to-Use grout, which doesn’t require mixing. Pre-mixed grout is great for interiors or dry areas. It also provides stain and water resistance, making it ideal for shower walls.
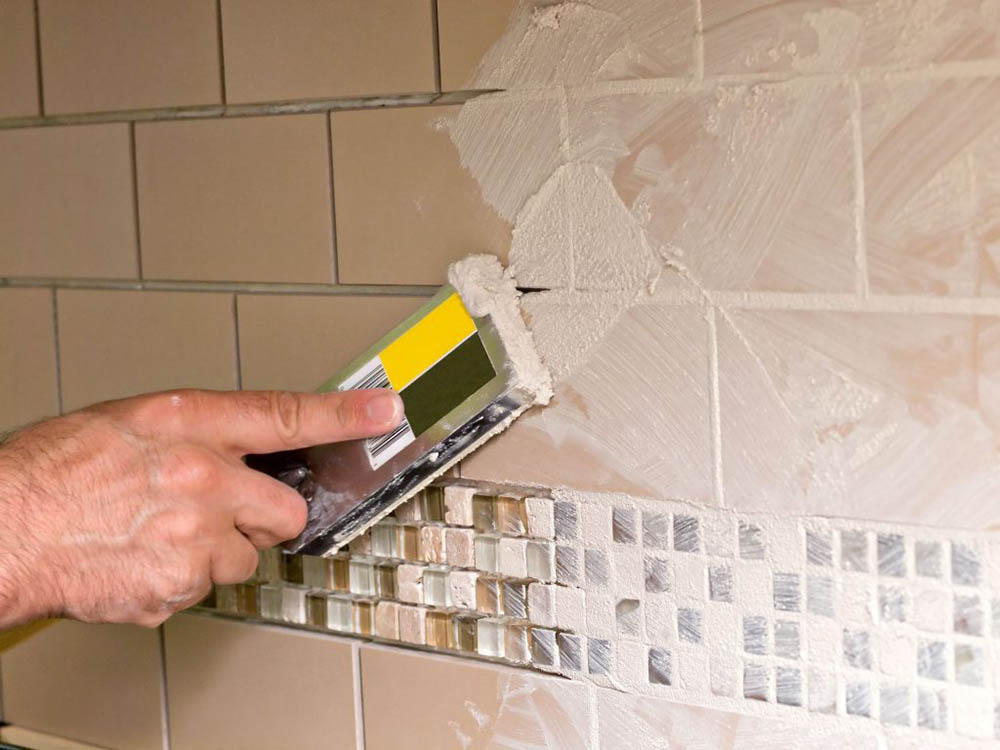
Image via thespruce.com
5. How To Apply Grout To Tiles
After your grout is thoroughly mixed, apply a generous amount to the tile surfaces and use a foam tile float to spread it. Completely fill the tile joints by pressing firmly into the spaces. Spread the material in sweeping arcs while working in one small area at a time. Once the joints are filled, you want to wait several minutes per Mapei instructions while the grout begins to harden. Using a damp sponge, wipe down the tiles. Remember, be careful not to drag out any corners of the grout! Let the Mapei grout completely dry by waiting 48 to 72 hours. Once dried, apply a sealer for the perfect moisture-free and beautiful looking tile.